BWD Sticky Video Prime Addon For Elementor
Sticky Video Prime
“Sticky Video Prime” allows you to display any video content (YouTube, Vimeo or Self-Hosted) to increase your website engagement. You can customize your overall video layout and make it available during site scrolling.
Here are some examples of video source files that you can show to your website based on your purposes.
- YouTube.
- Vimeo.
- Self Hosted.
Pre-requisites
To use the stunning Sticky Video Prime widget, you need the following plugins:
- Elementor ( Free )
How to Configure and Style Sticky Video Prime:
Watch this handy video tutorial.
Let’s see how to use the Sticky Video Prime widget step-by-step:-
Step: 1
How to Activate Sticky Video:
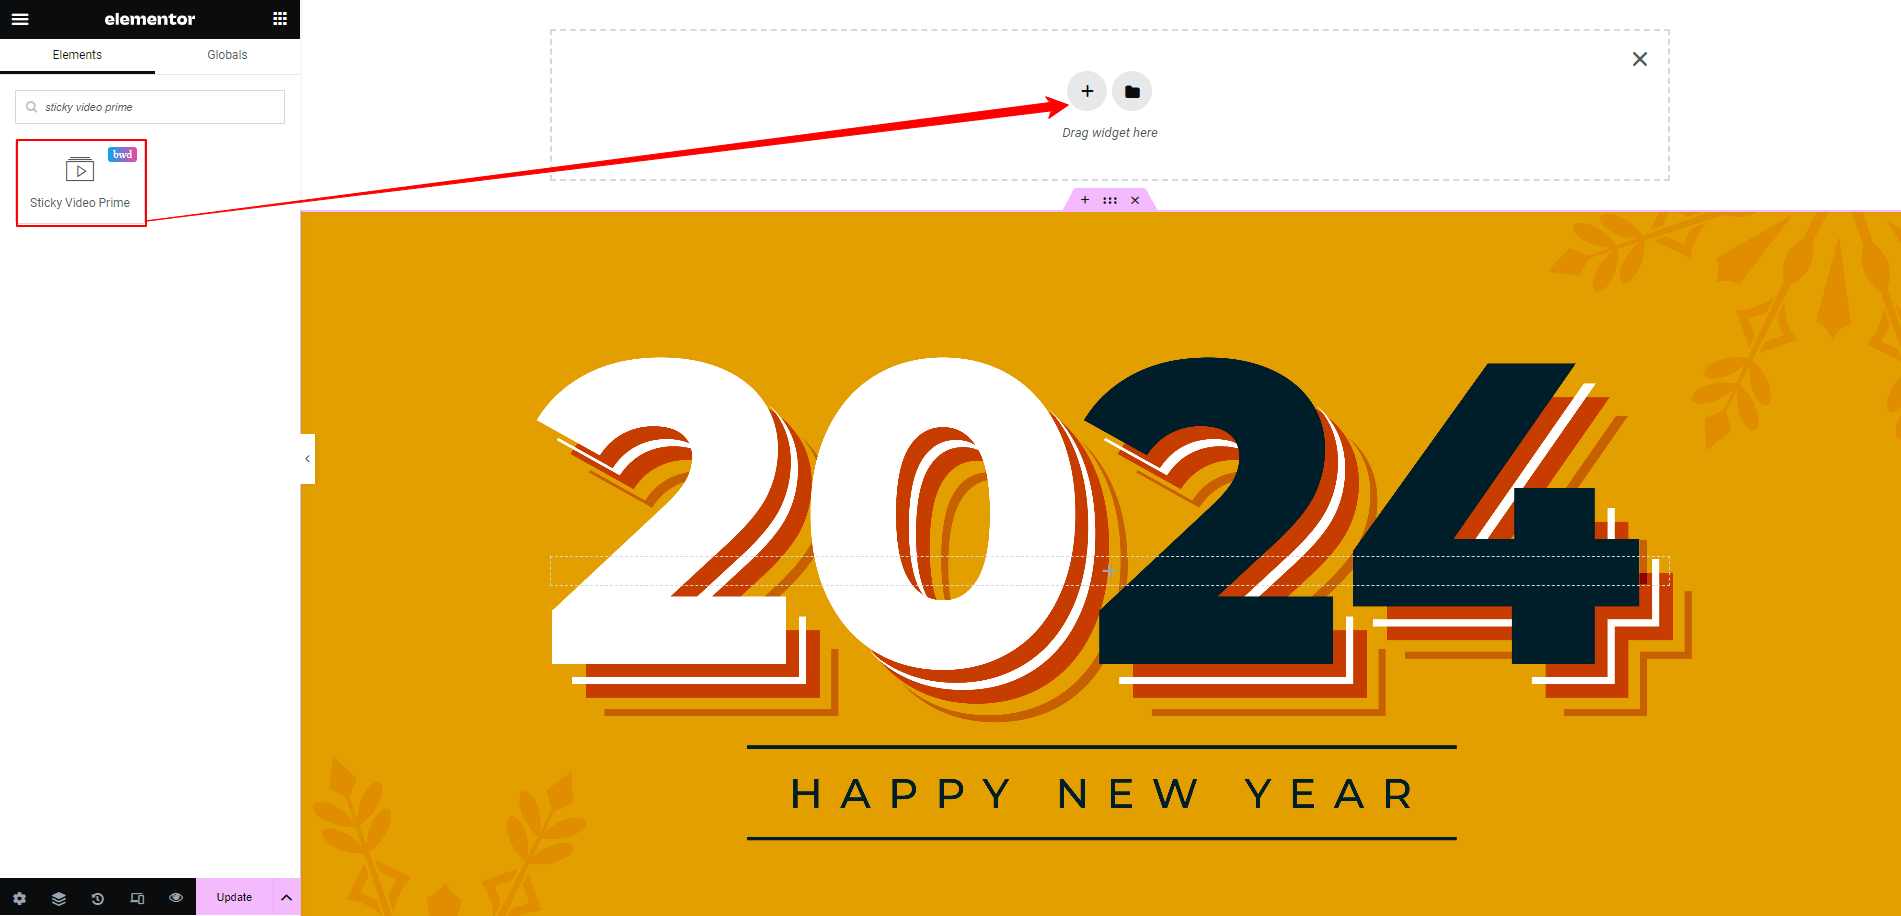
To use this BestWpDeveloper for Elementor element, find the ‘Sticky Video Prime‘ element from the Search option under the ‘ELEMENTS‘ tab. Simply just Drag & Drop the ‘Sticky Video Prime’ into the ‘Drag widget here‘ or the ‘+’ section.
Step: 2
Content:
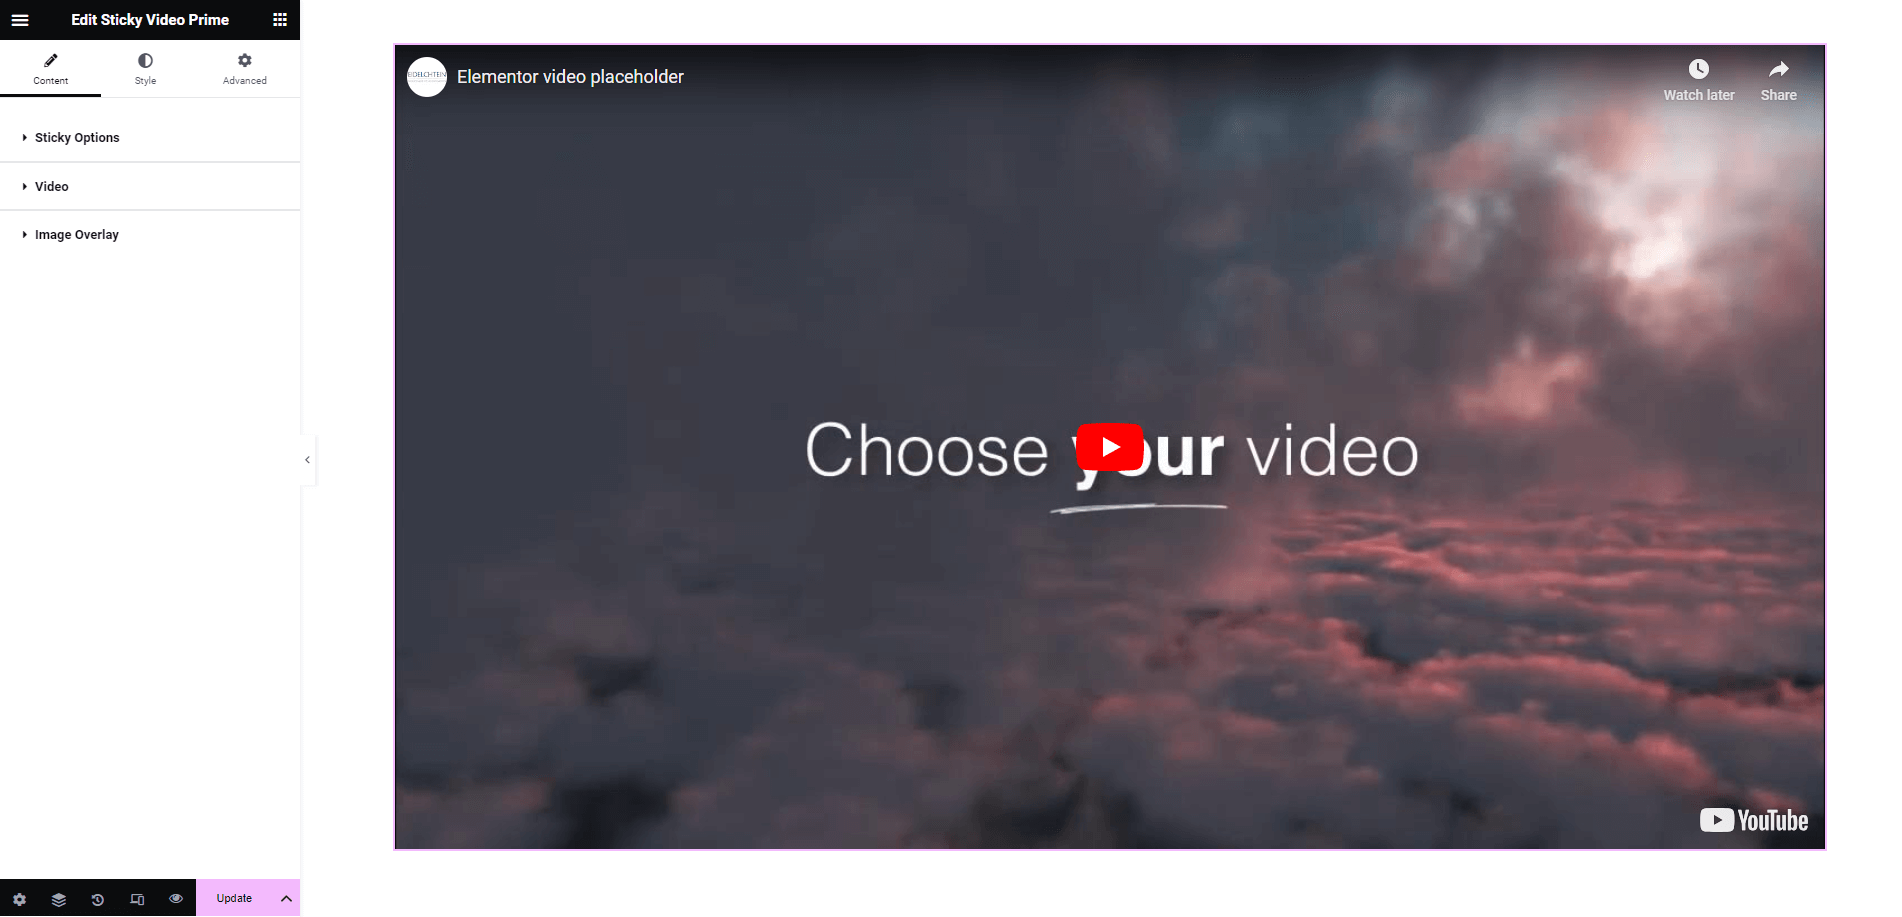
After you are successfully done with step 2, this is how the element is going to look like.
How to Configure the Content Settings:
Under the ‘Content’ tab, you will be able to configure ‘Sticky Video Prime’.
Sticky Option:
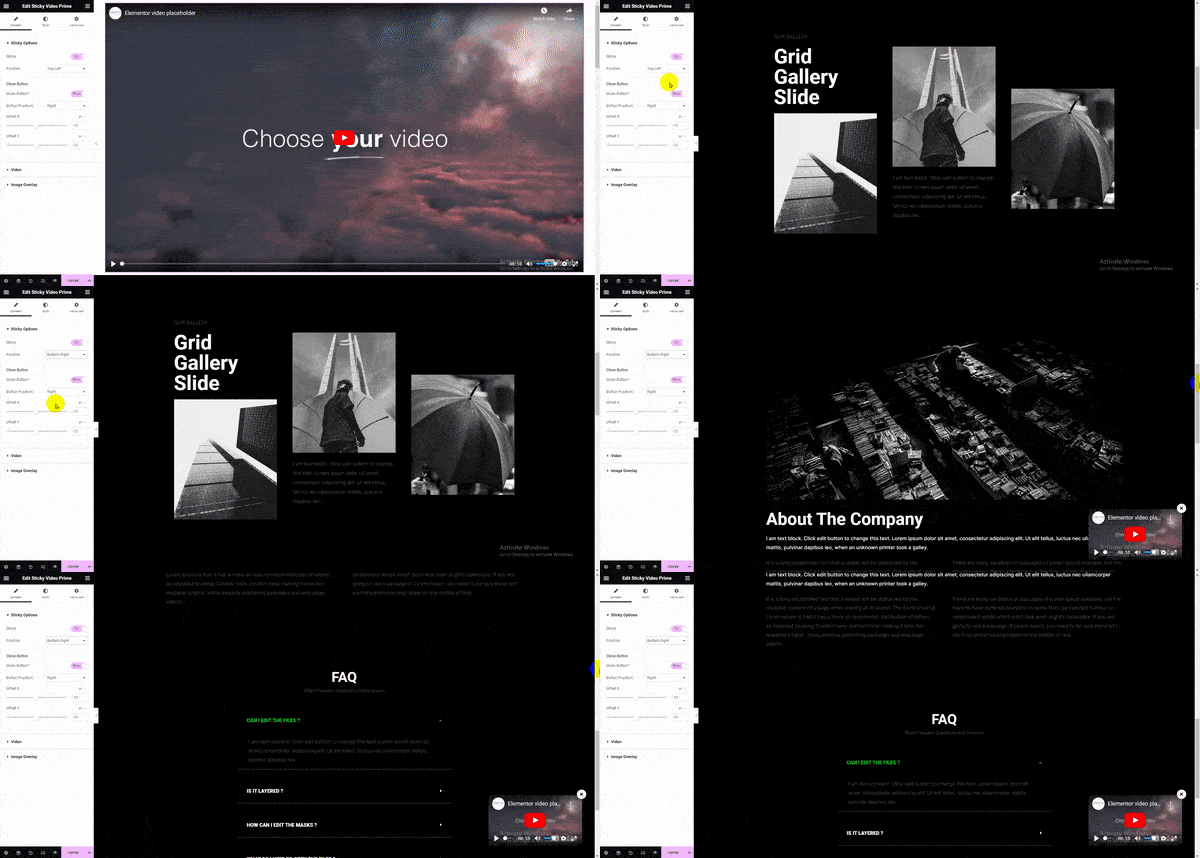
By default, the ‘Sticky’ option is enabled. You can use the toggle to disable or enable it. Besides, you can adjust the position of the Sticky video as well. It is set to ‘Bottom Right’ of the screen by default.
Video:
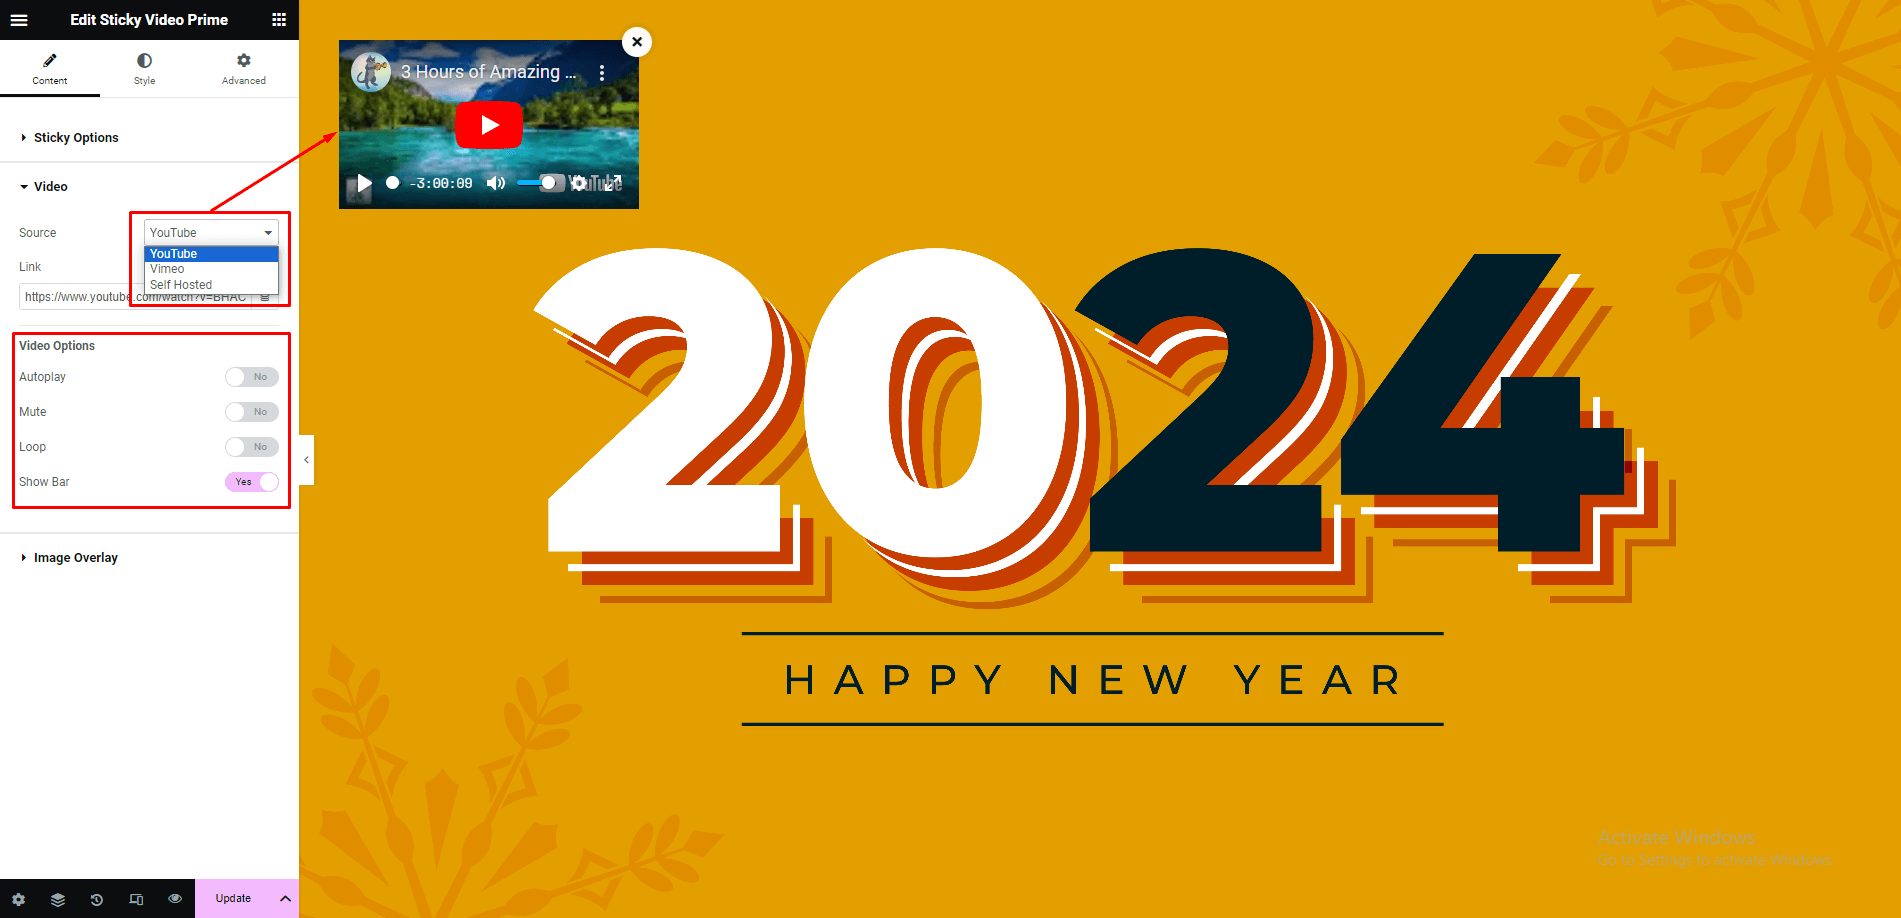
From the ‘Video‘ section, you can pick the Video Source from out of these available sources: YouTube, Vimeo or Self-hosted. You can add a video link which you want to play. From ‘Video Options’, you can use the toggle to turn on or off Autoplay, Mute, Loop, Video Bar and others.
Step: 3
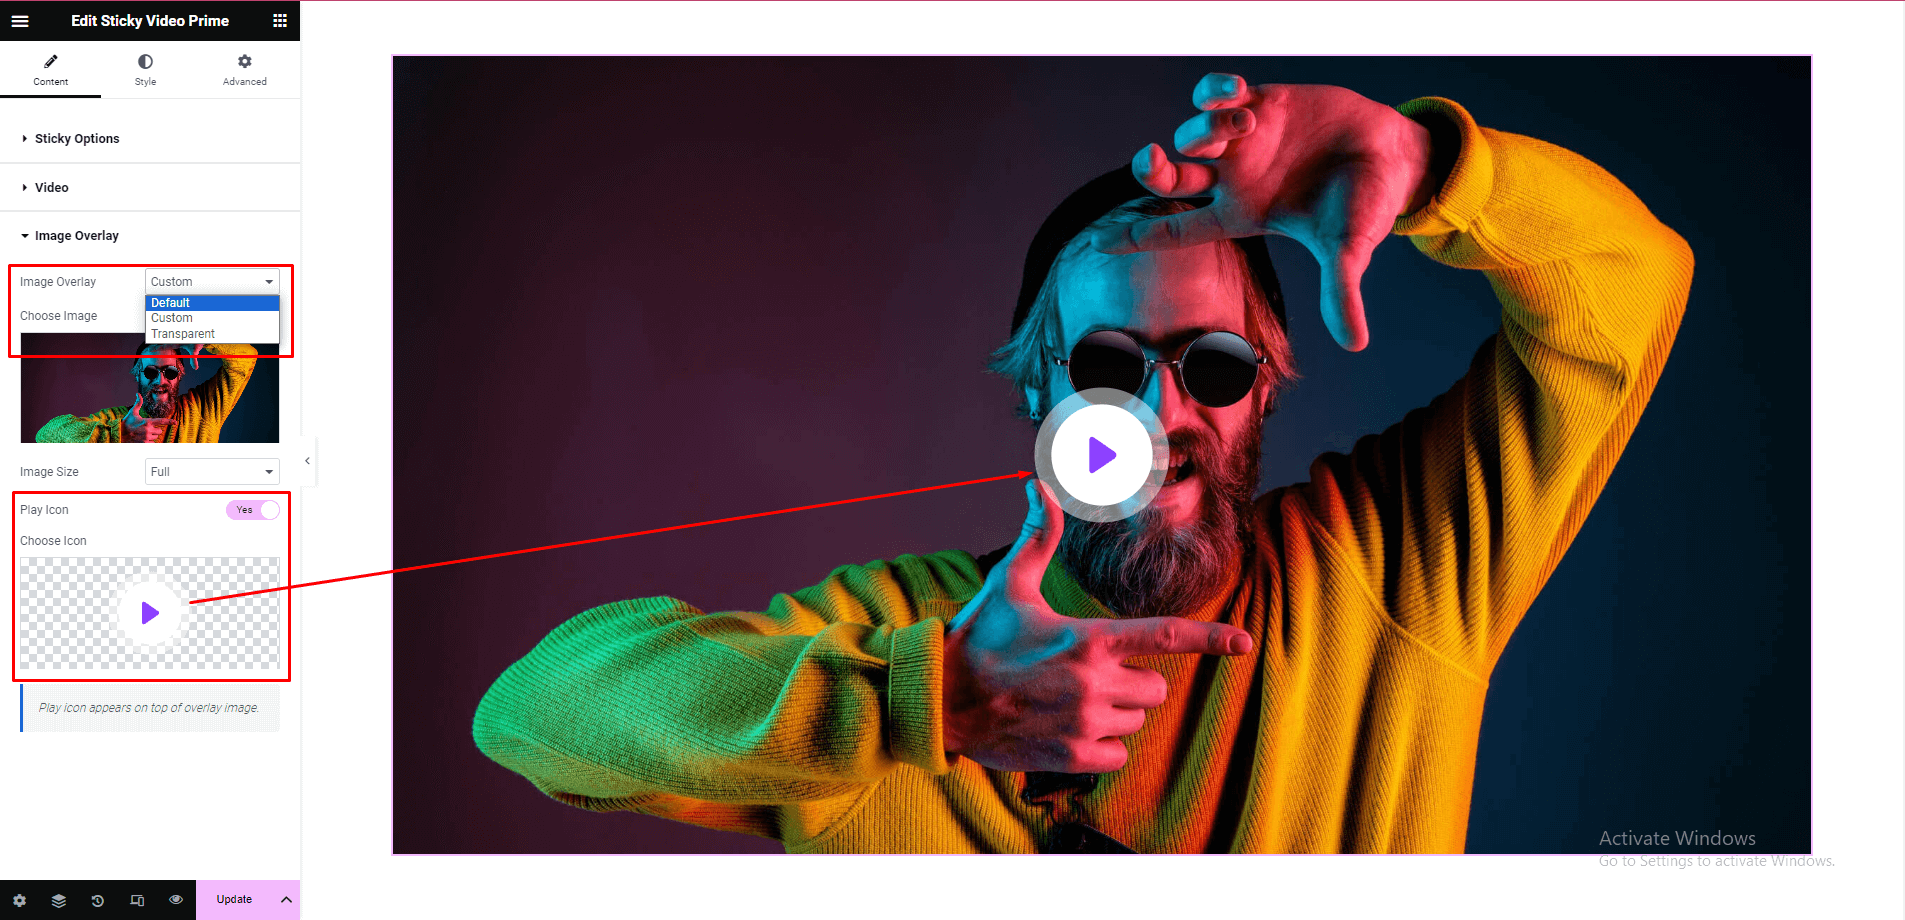
Image Overlay:
From this section, you can add an image overlay and change its size for the video. If you want, you can even change the default Play Button Icon as well.
How to Style Sticky Video:
Switch to the ‘Style’ tab to style all the features of Sticky Video.
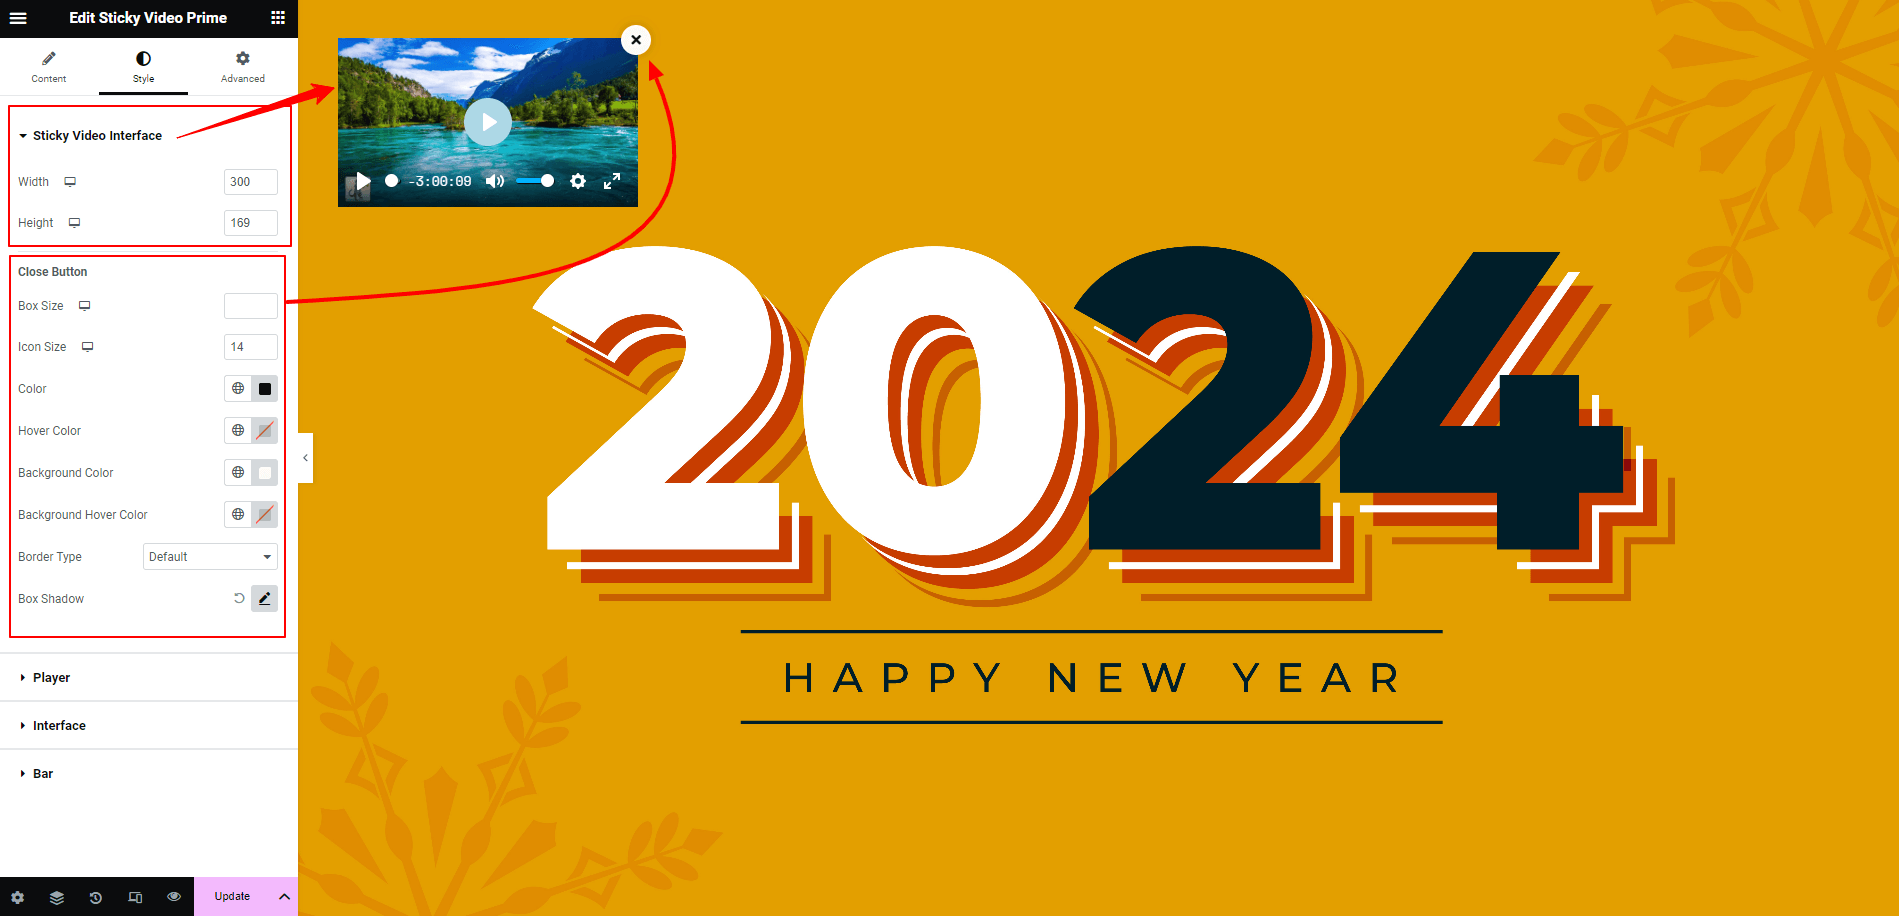
Sticky Video Prime Interface:
‘Sticky Video Interface’ allows you to change the height and width of the Sticky video. If you want, you can even change the Close button color as well.
Final Outcome:
By following the basic steps and a bit more modifying, you can style your Sticky Video Prime as per your preference.

That’s it.
Congratulations! You have successfully configured the “Sticky Video Prime” widget. If you have any further questions or need additional support, don’t hesitate to reach out. Thank you for using our plugin.
Sticky Video
Buy this plugin only at $5